Description
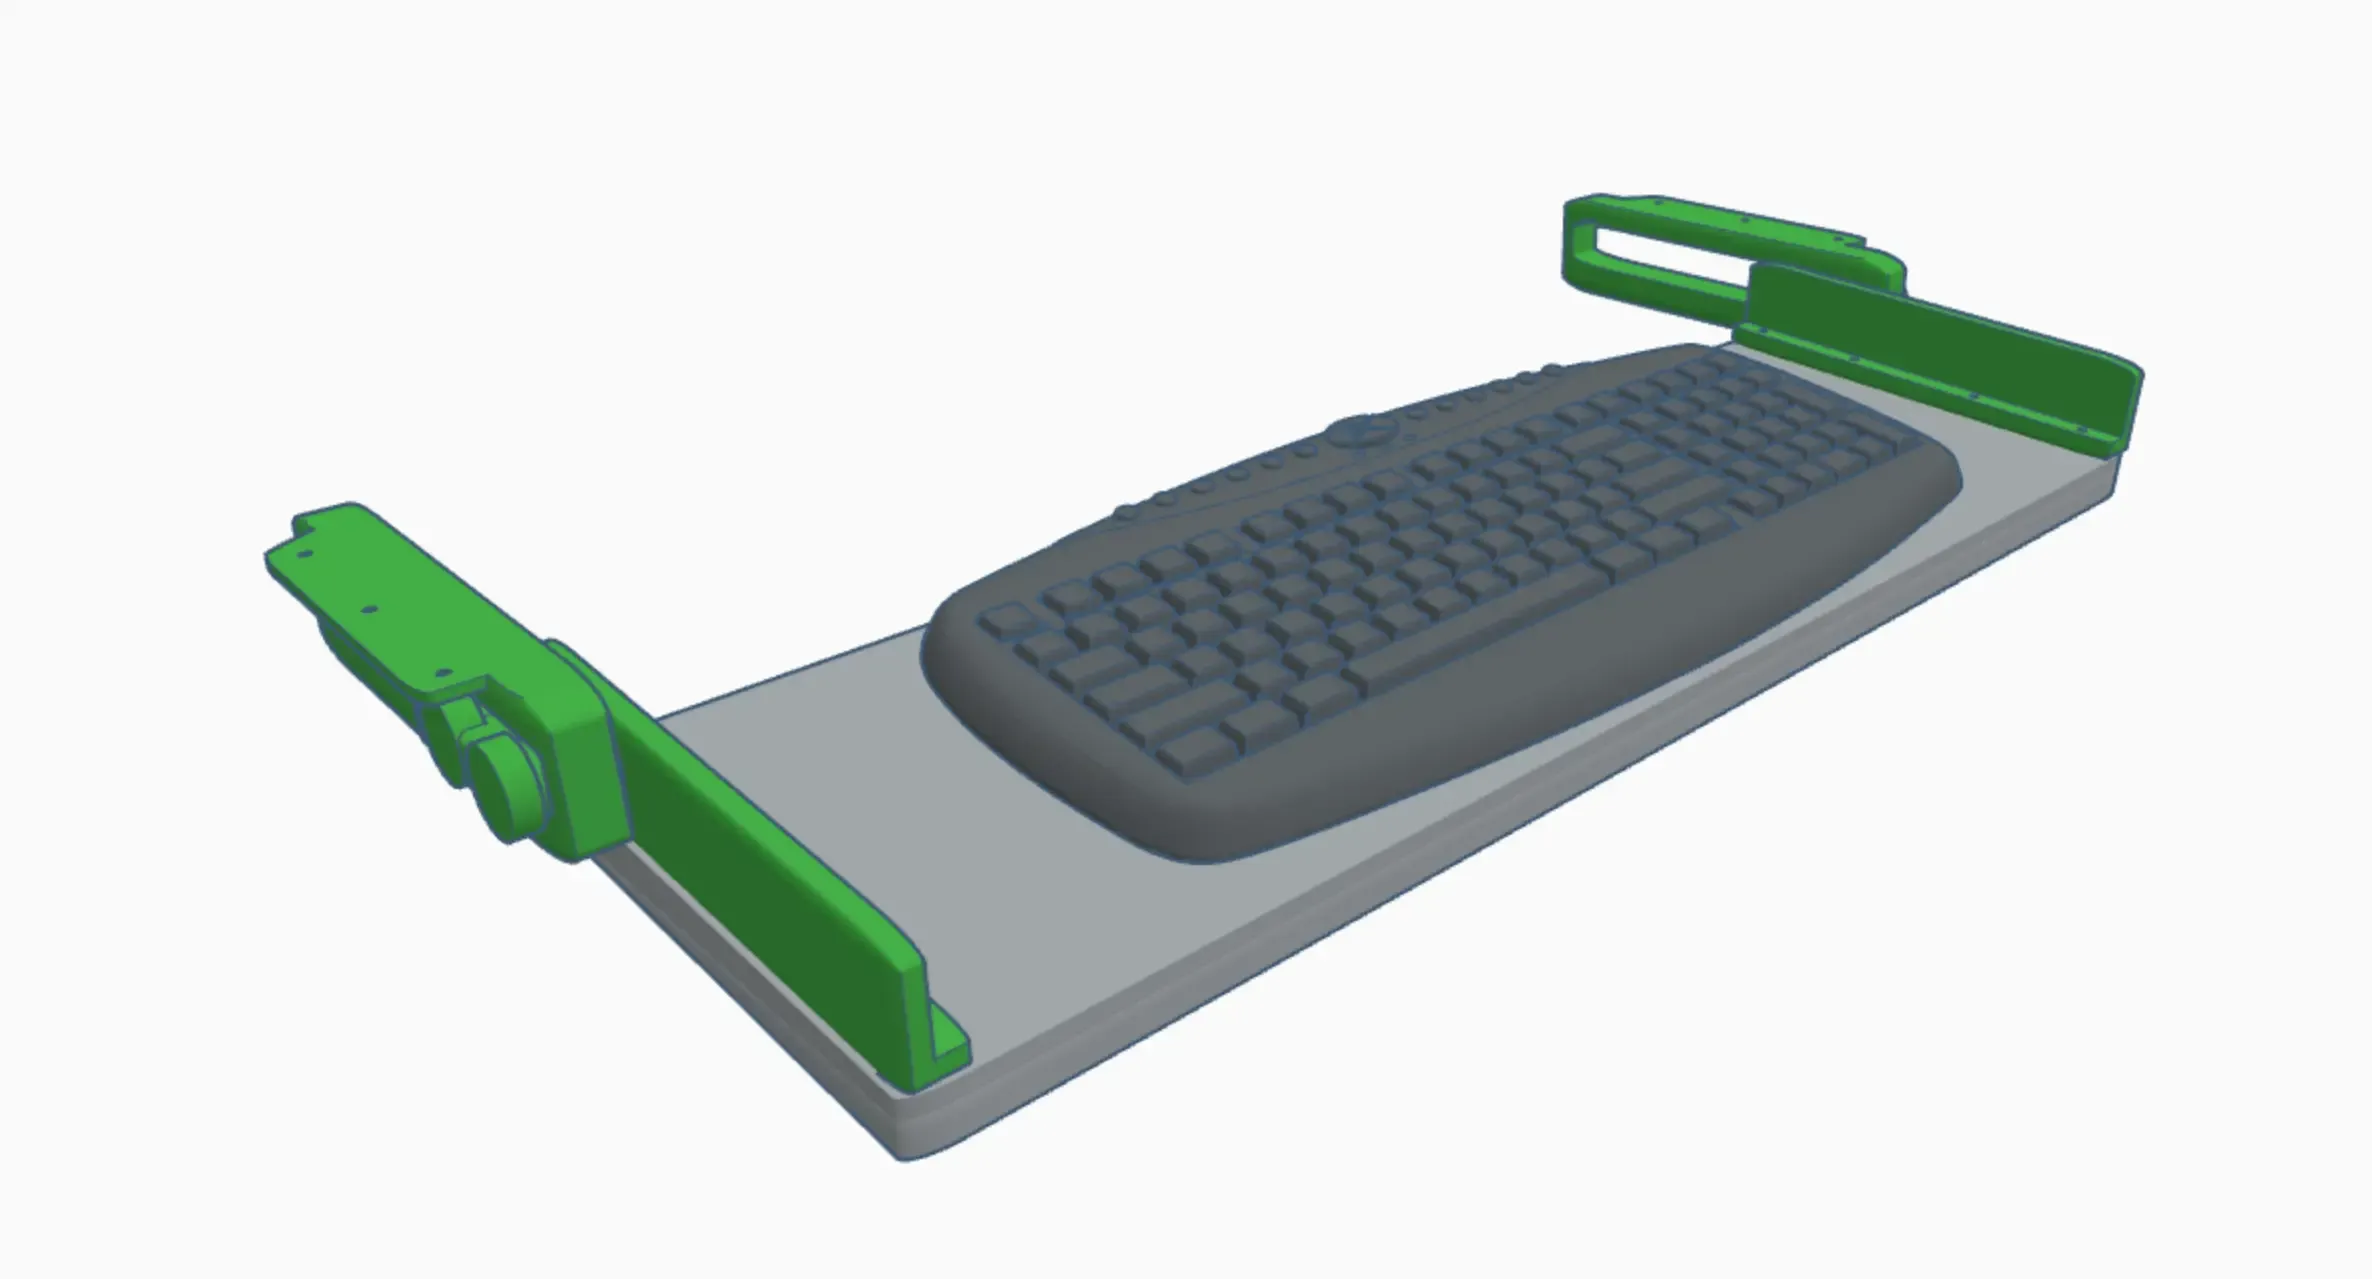
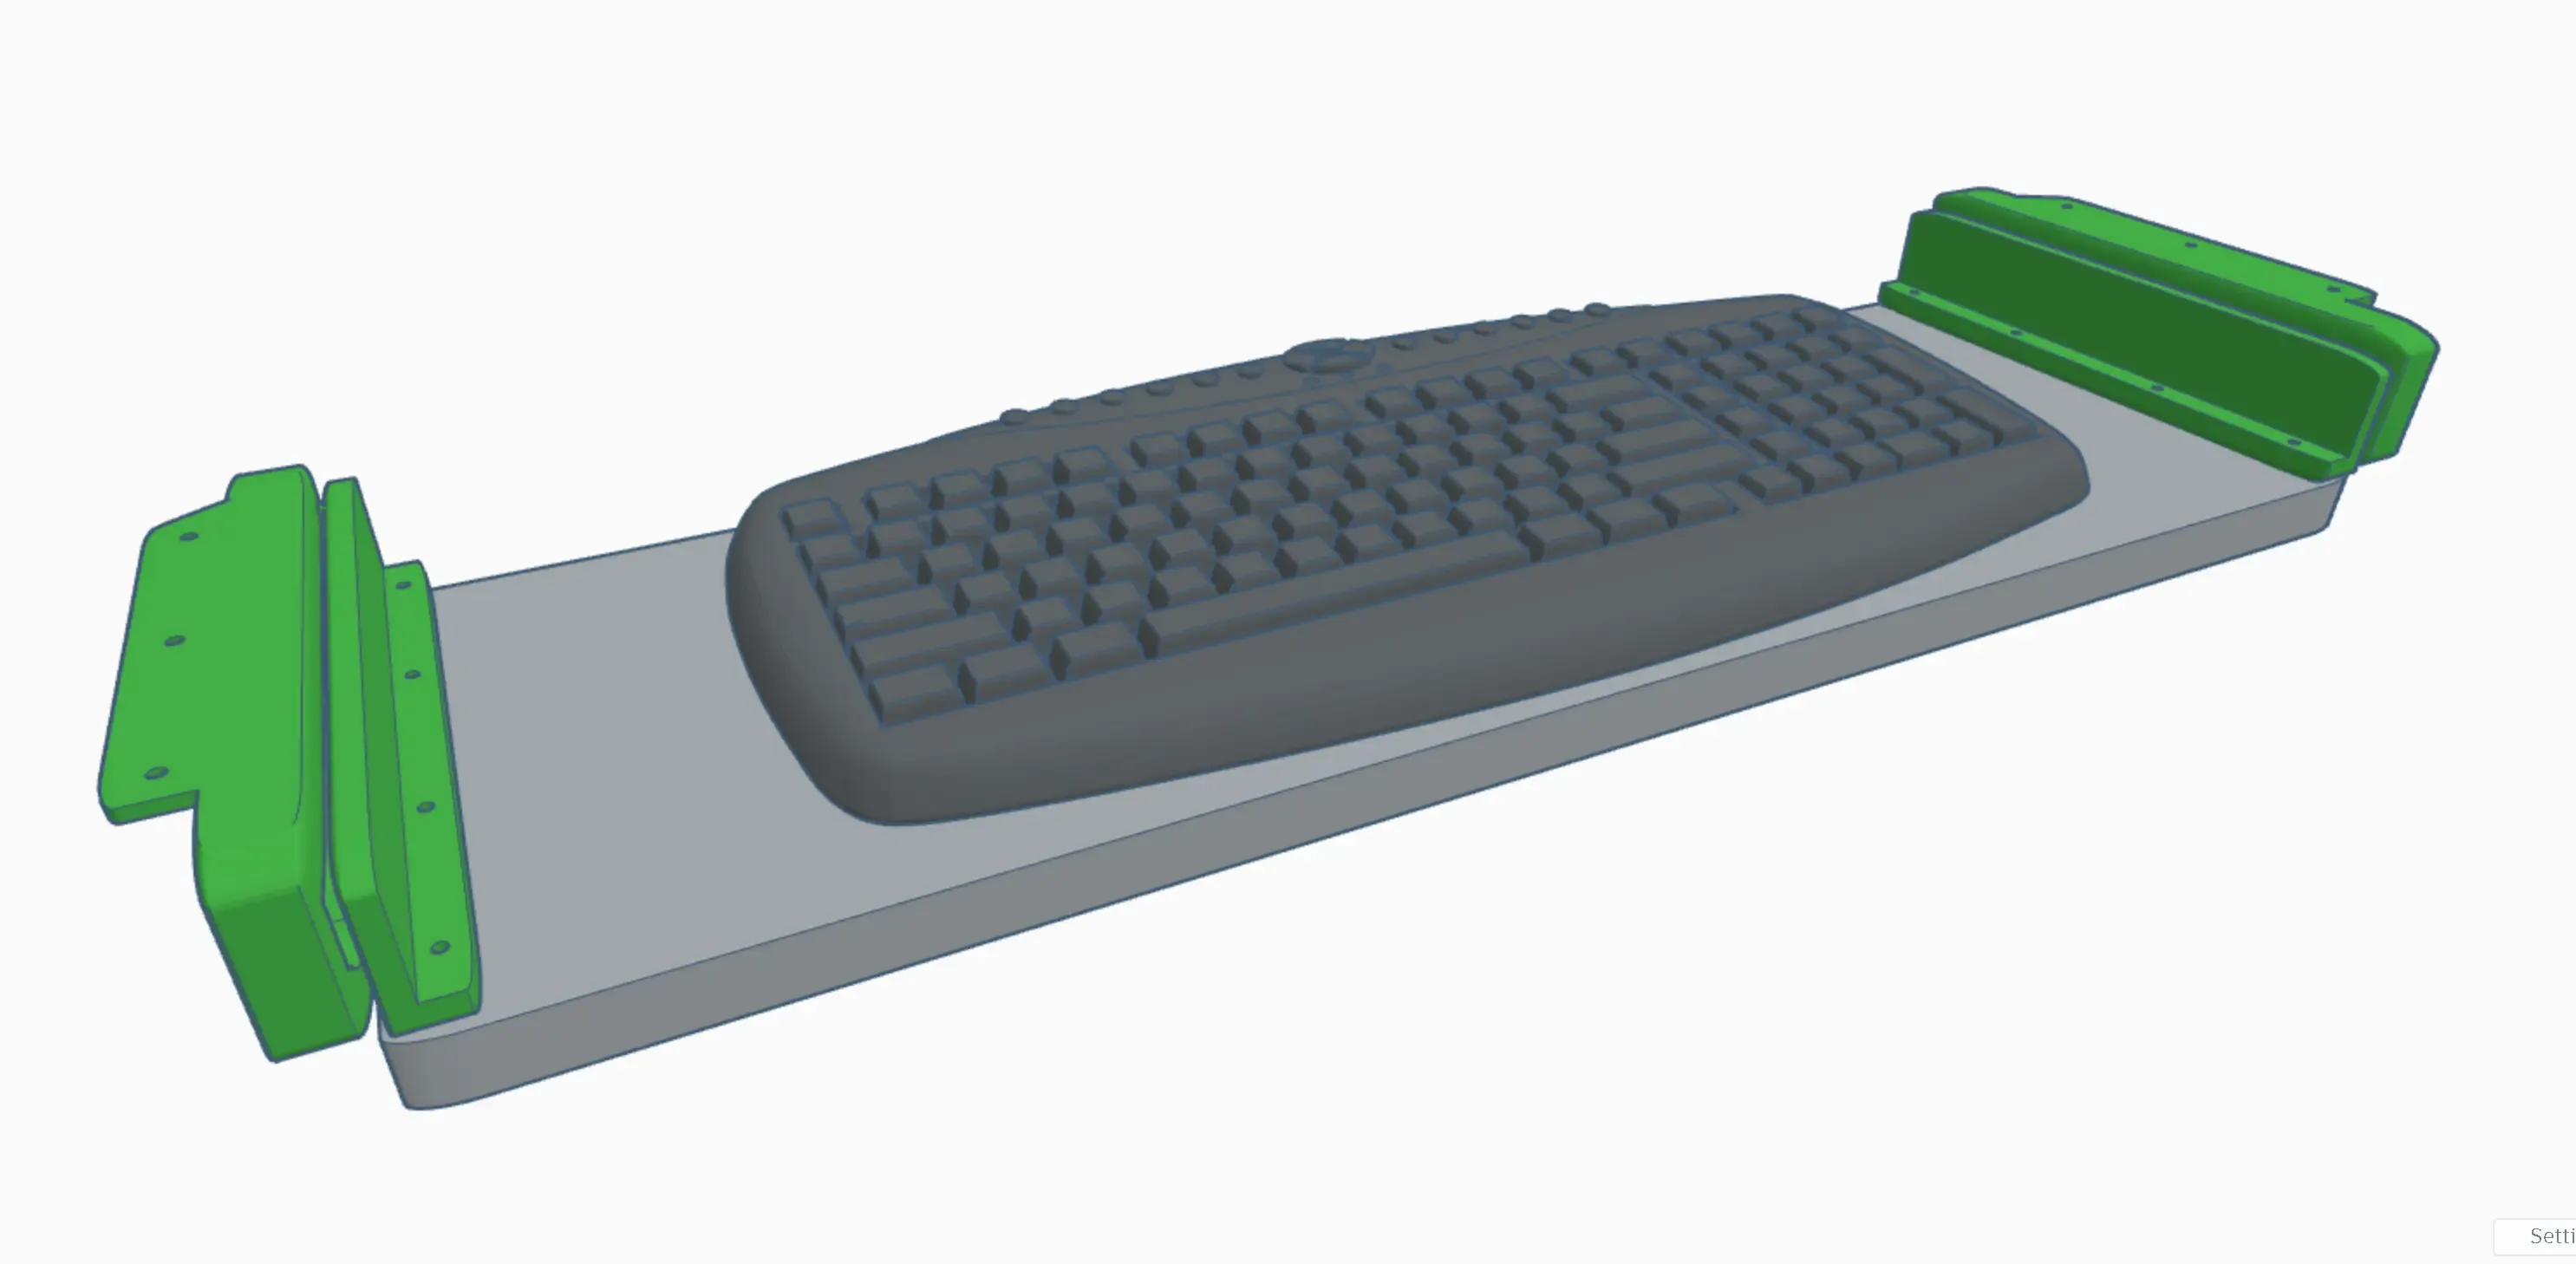
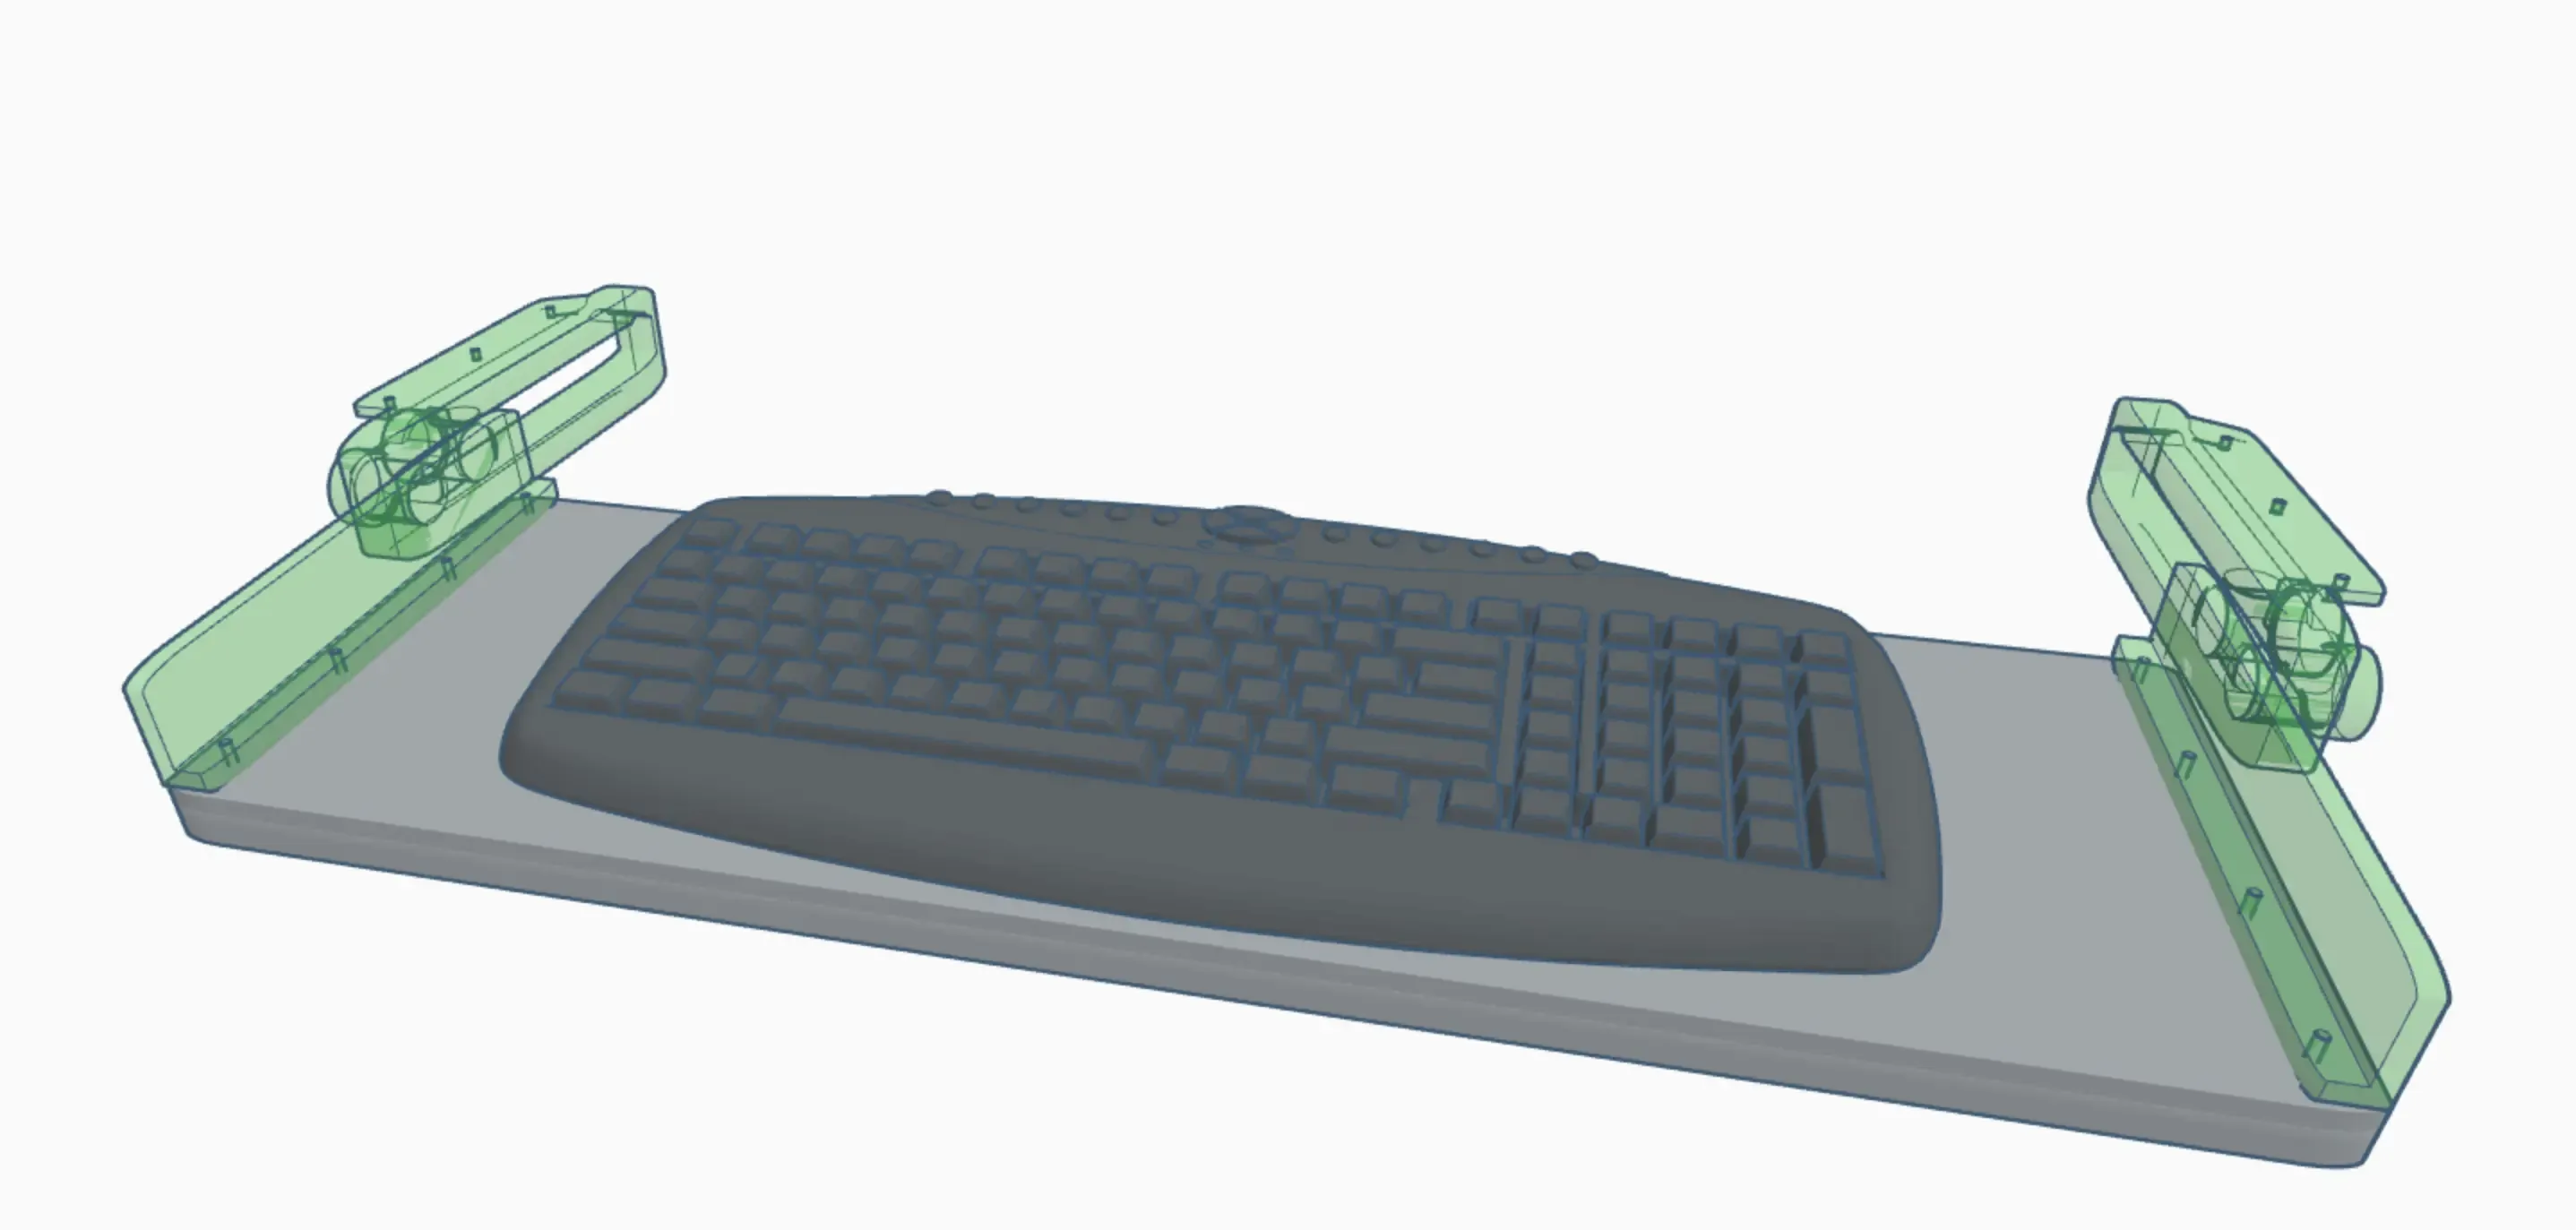
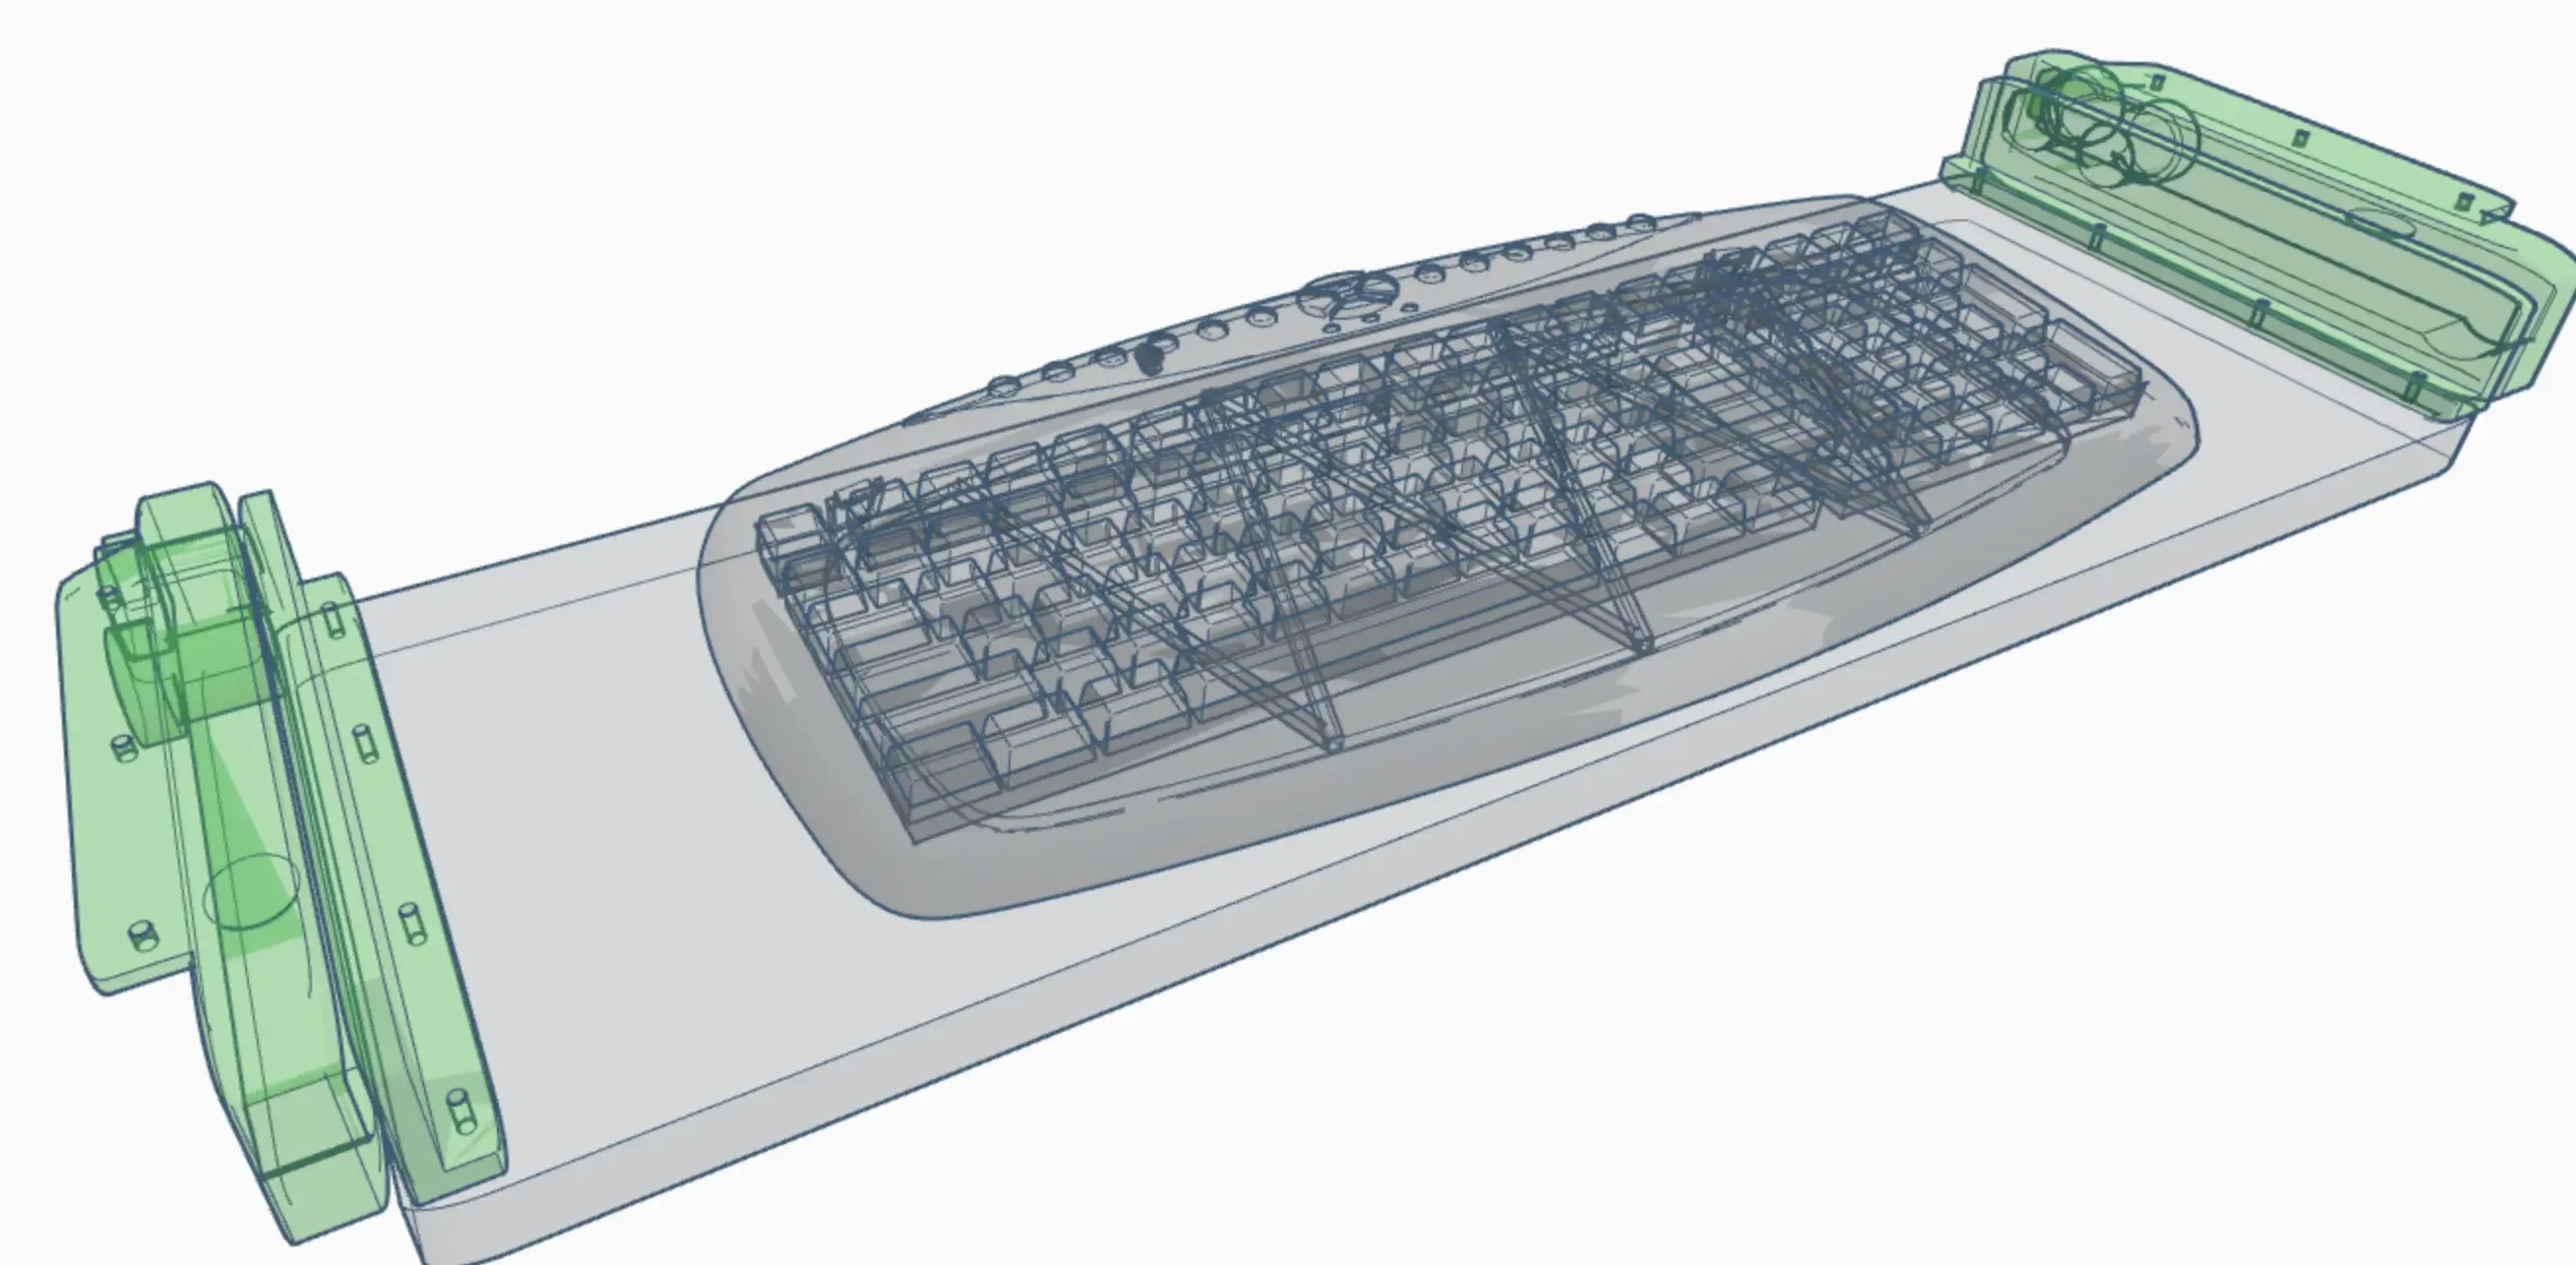
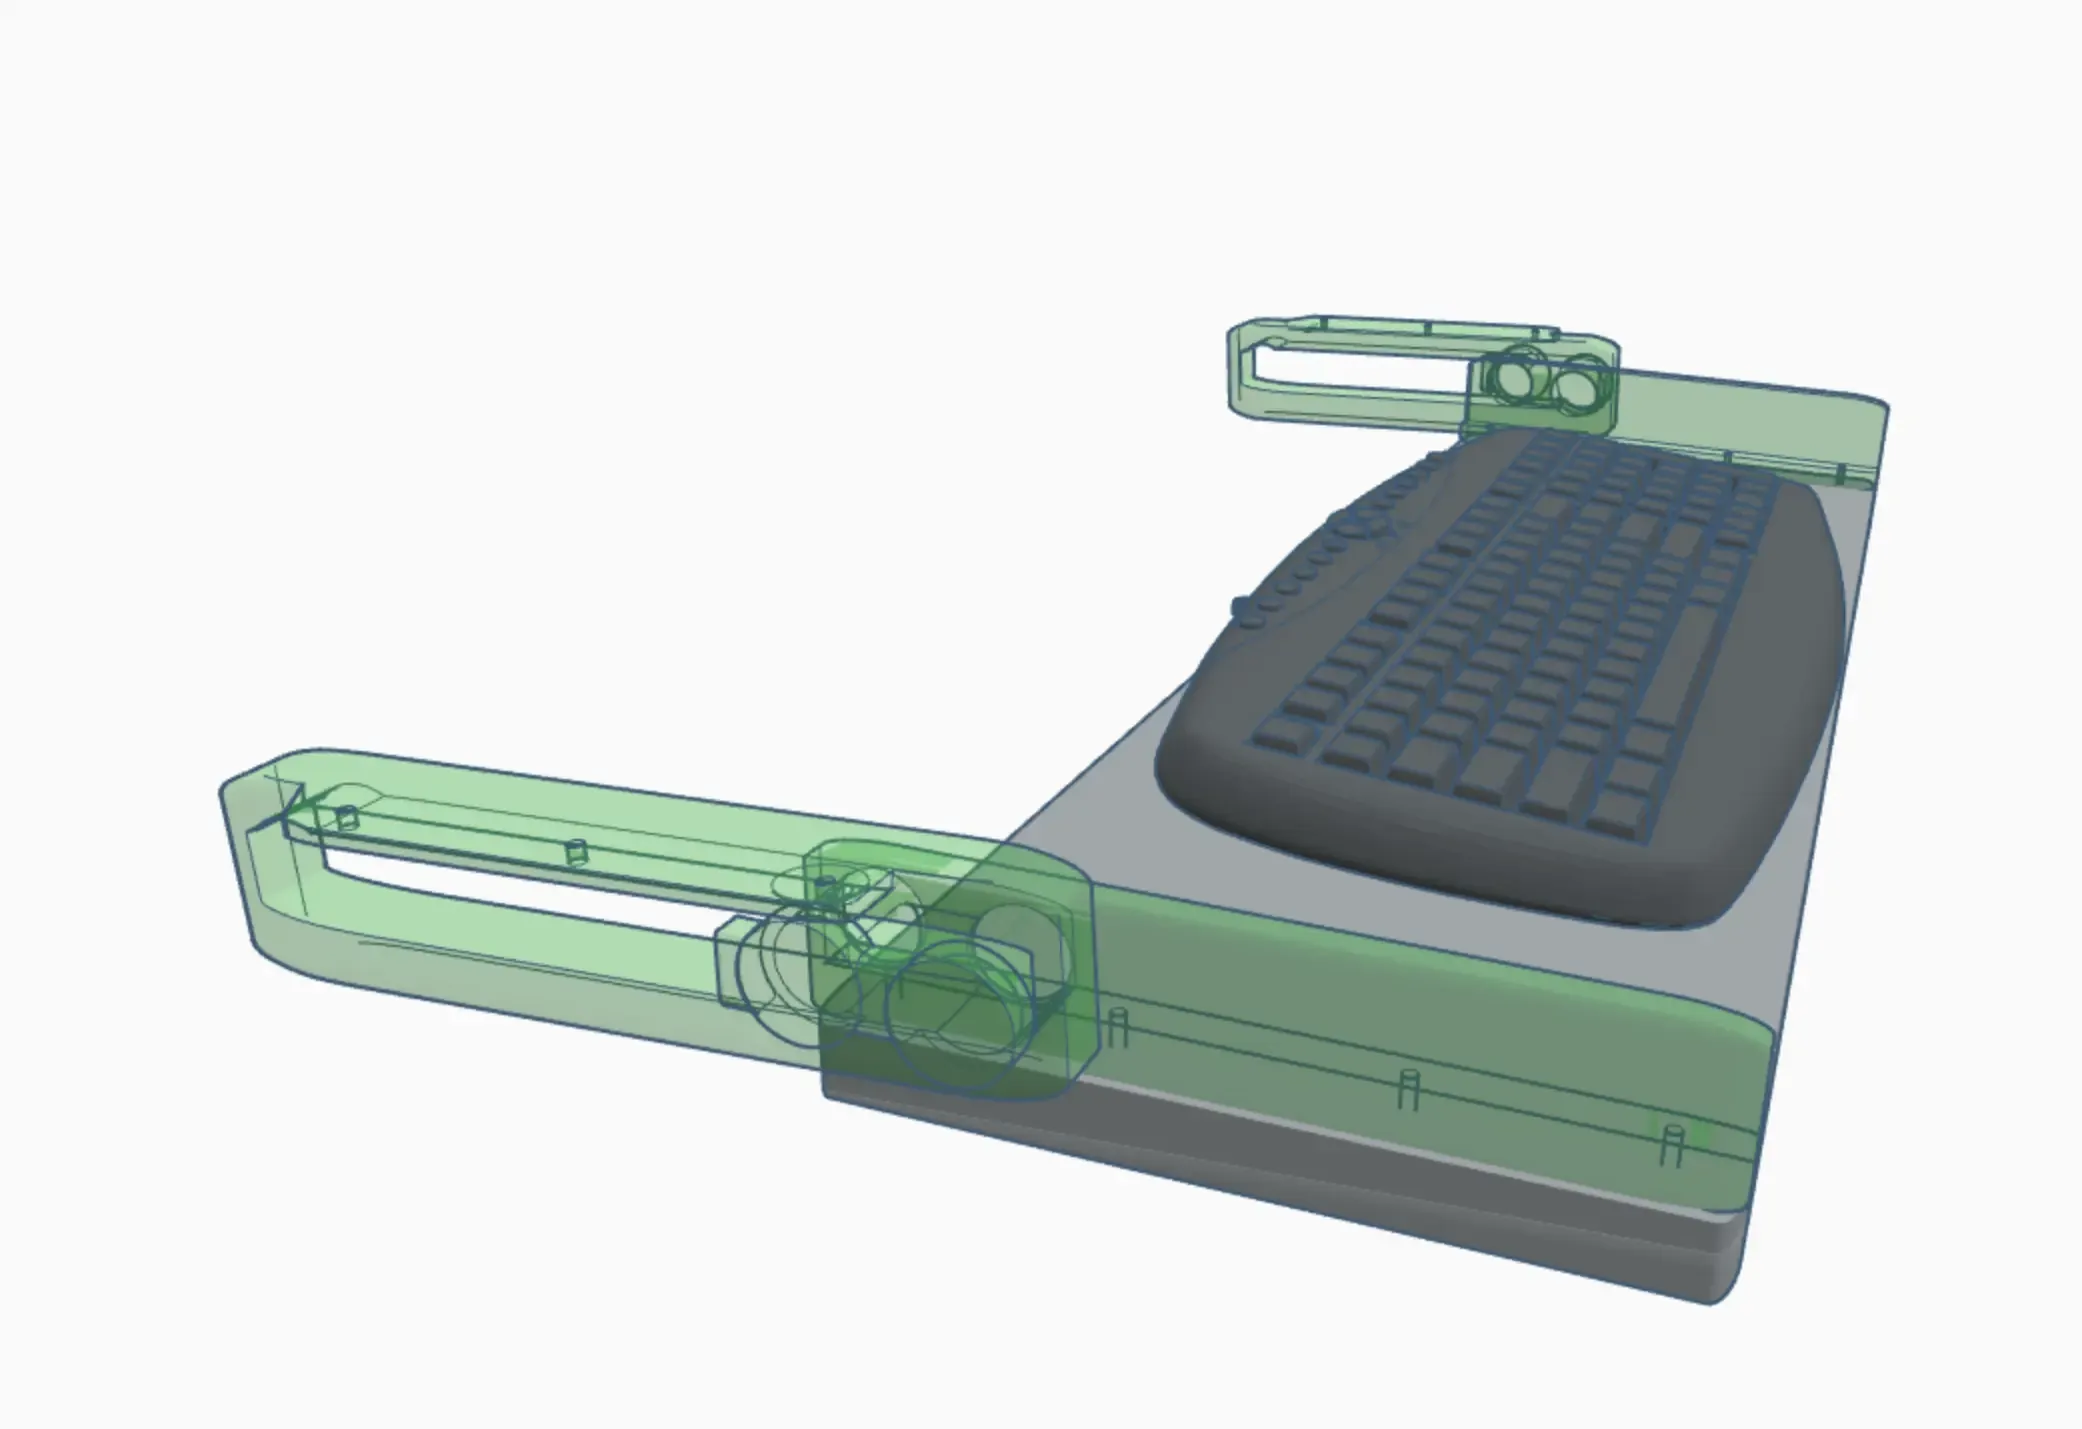
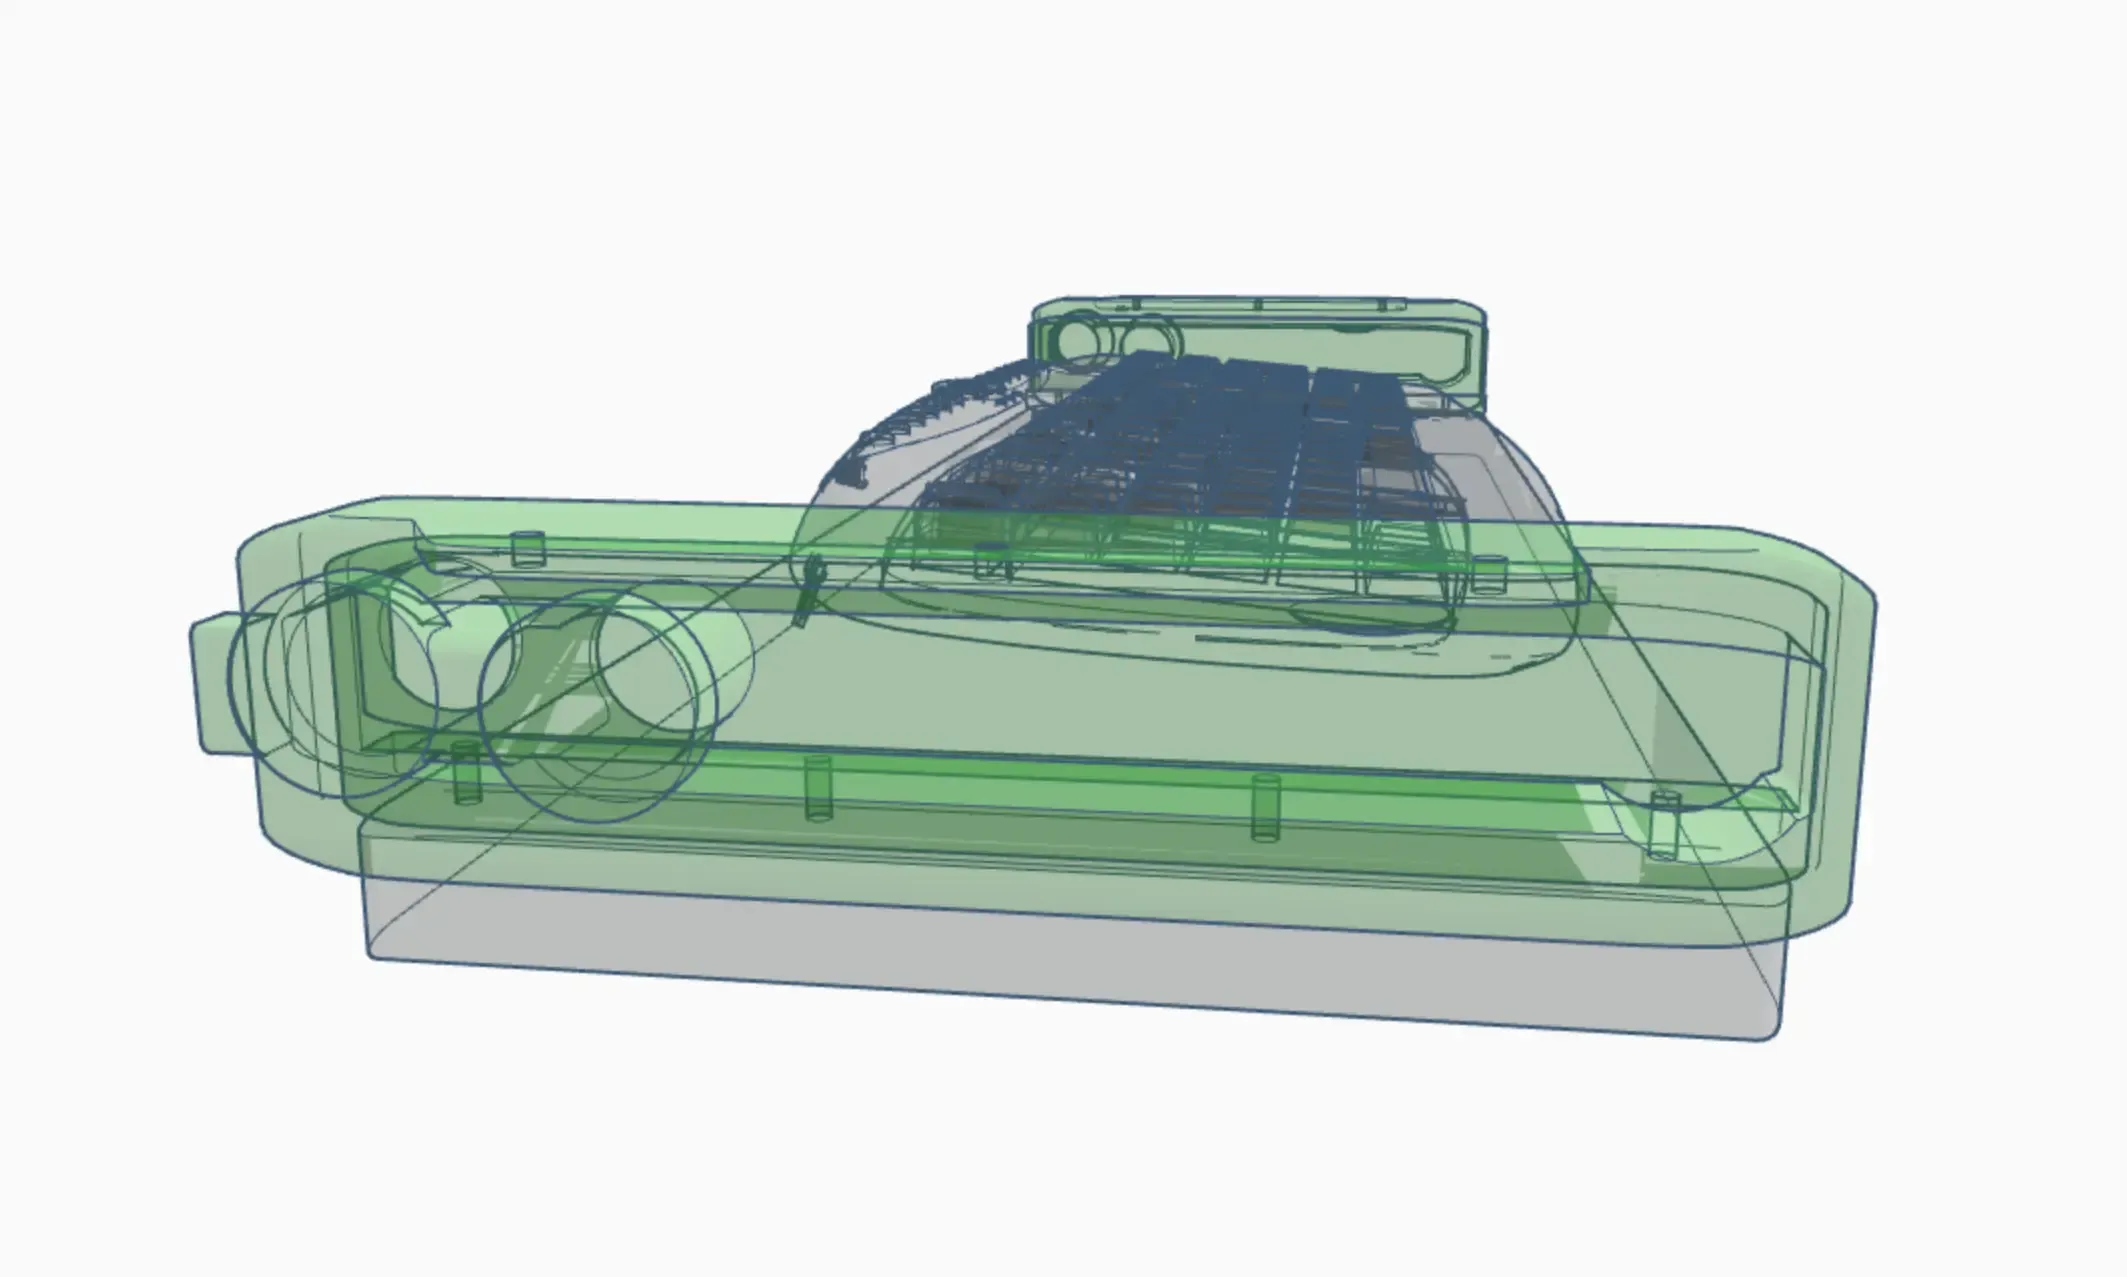
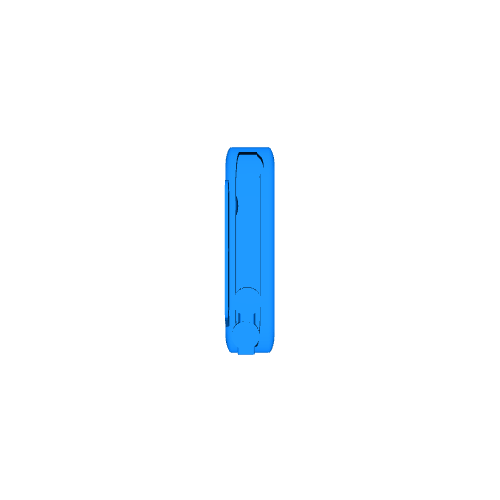
Fully functional sliding brackets, for use with a computer keyboard.
They should fit most desks and keyboards.
--------------------------------------------------------------
Print in place with no support.
Designed for use with a 190mm deep board/shelf or anything else sturdy enough to span the width of a keyboard. You can use a deeper board if required, it will just overlap the brackets by the extra depth.
--------------------------------------------------------
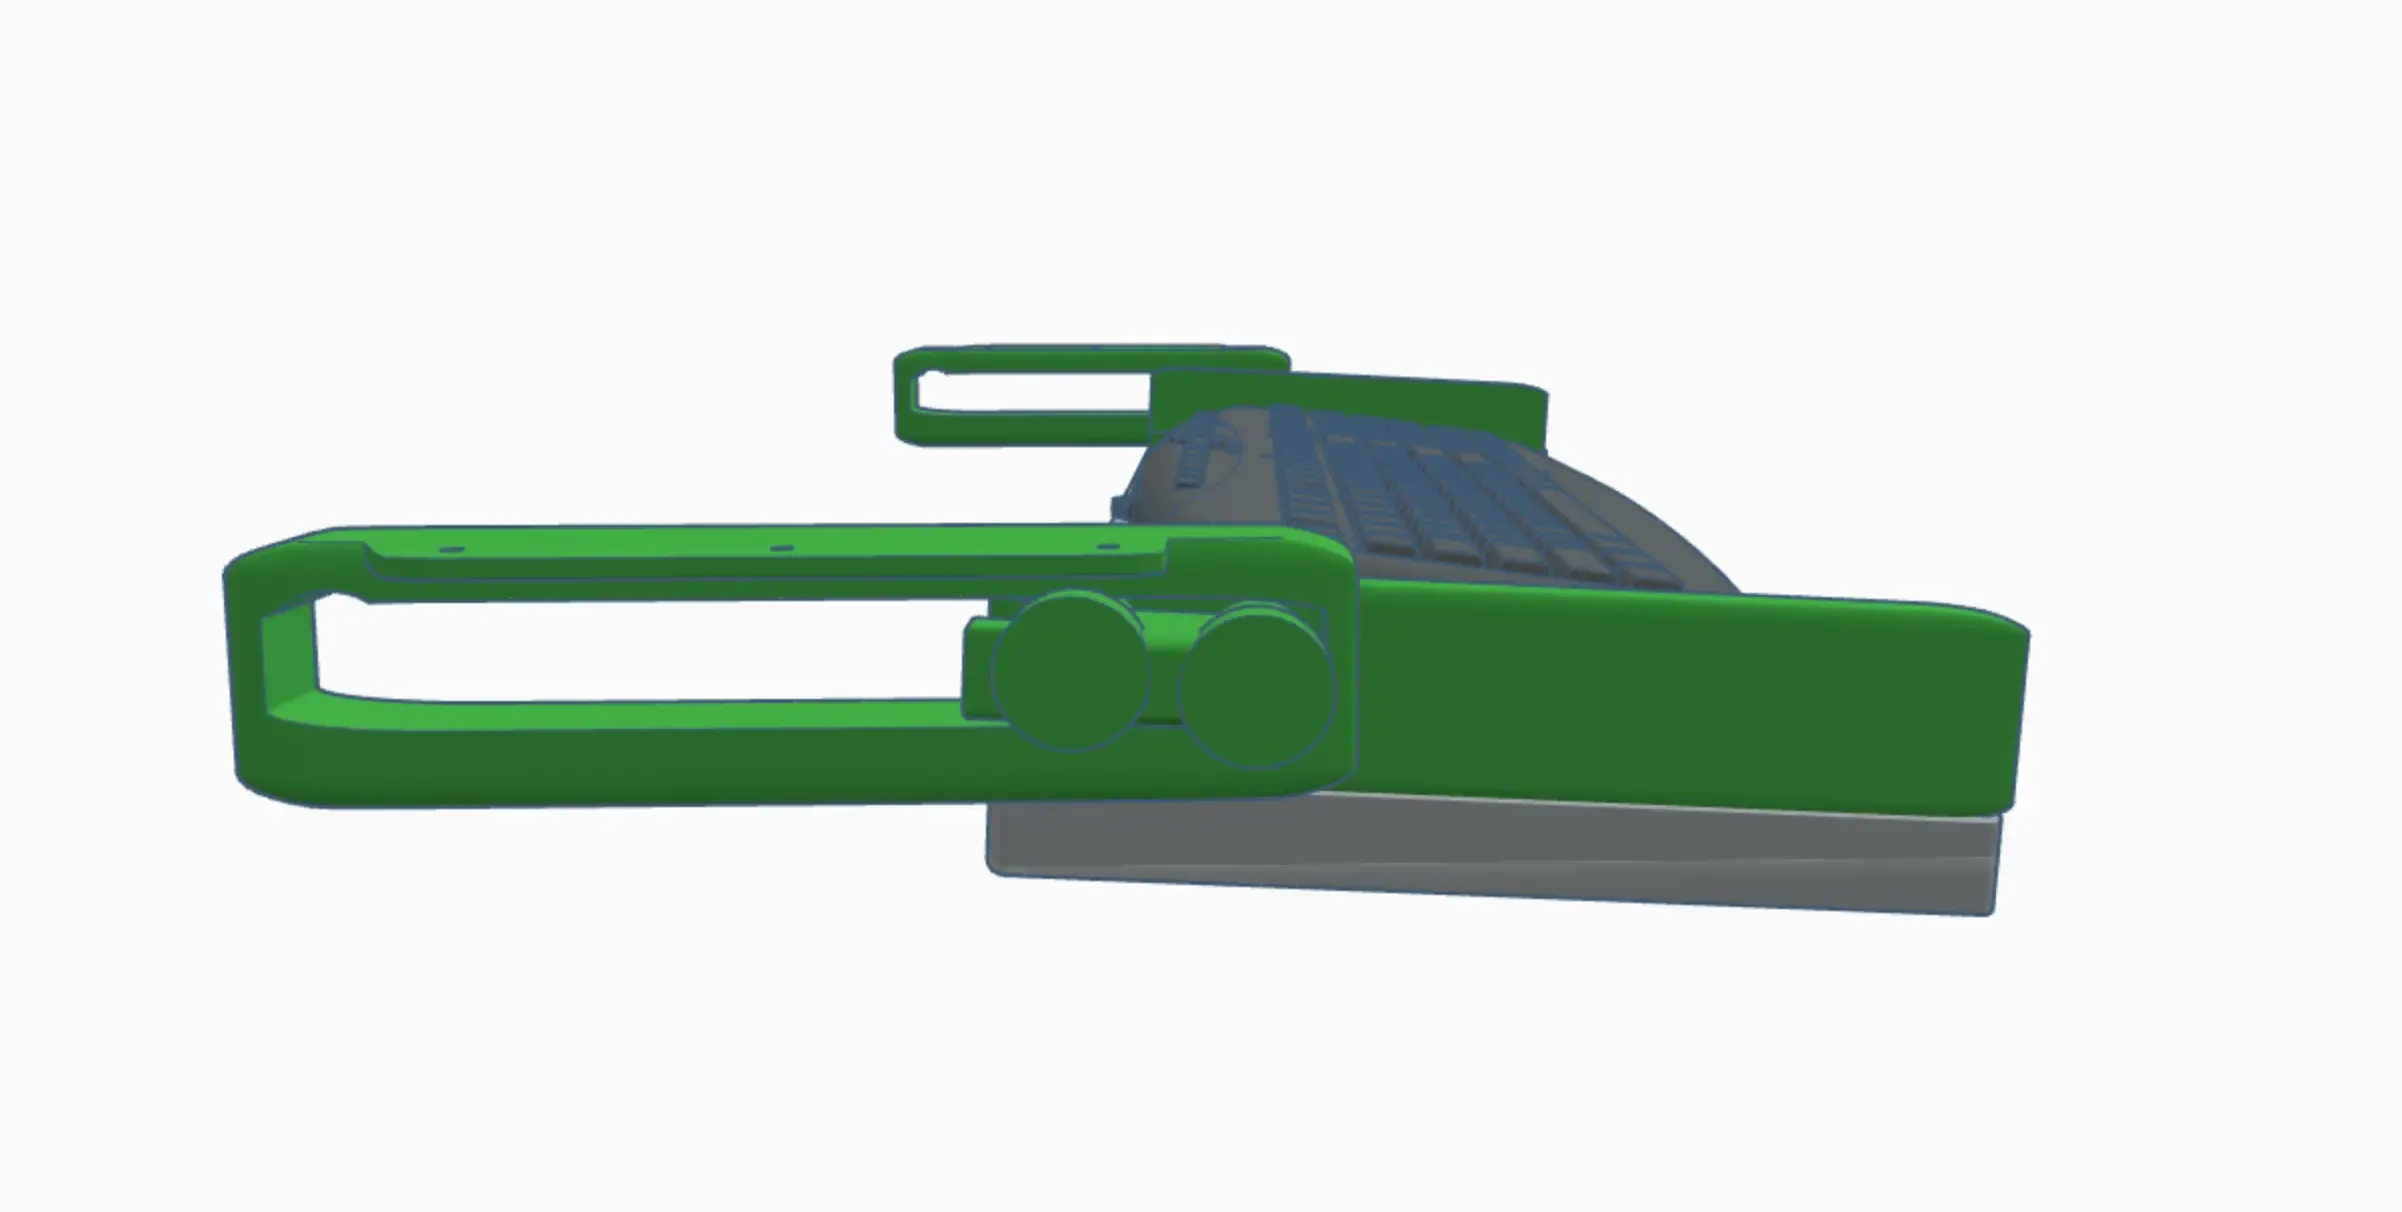
The sliders have 2 positions that lock in place:
Locks in the extended position to avoid the shelf sliding back during use.
Locks in the closed/retracted position to avoid the keyboard moving when not in use.
These are more like rests than physical locks and work under the weight of the keyboard and board.
When in use the keyboard tilts towards you by a few degrees.
---------
Usage:
---------
To pull the keyboard out, just lift the front edge of the board slightly and pull towards you.
To slide into the stowed position, simply hold both brackets at either side of the keyboard, lift slightly, and then gently push away until the brackets locate into the rear locks/stops.
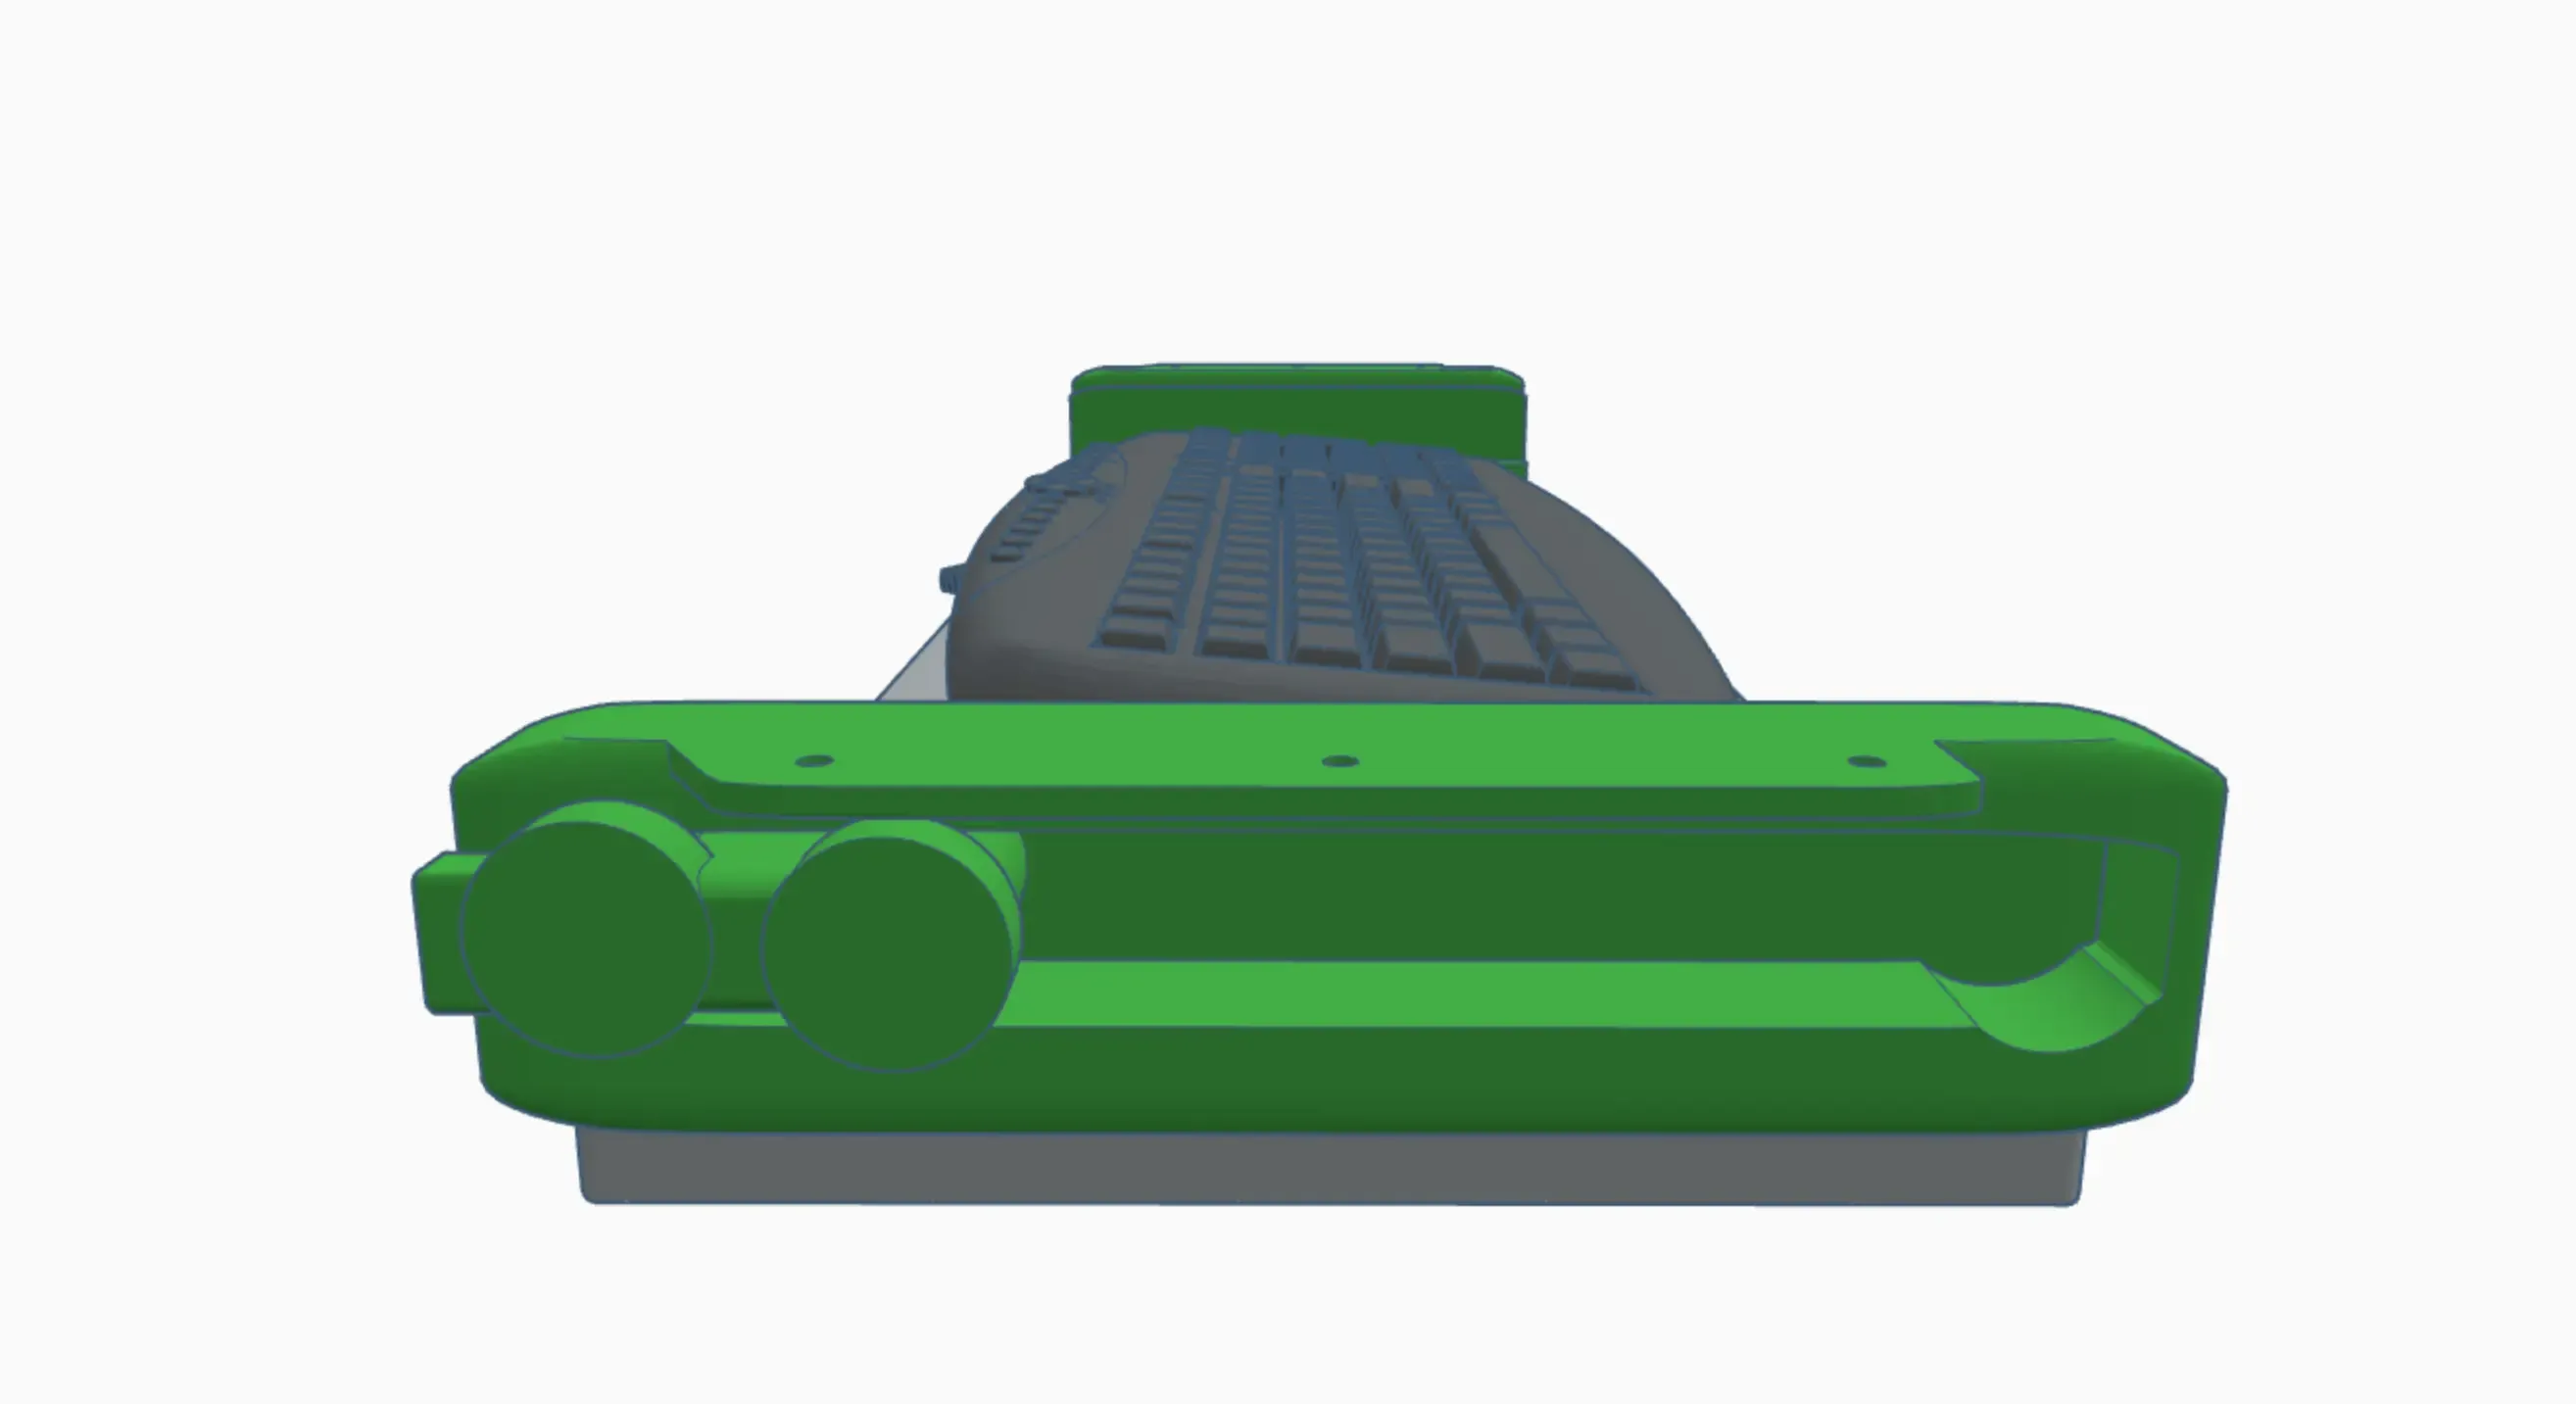
Use =<4mm diameter screws to fix to the board/desk.
---------------
Print Settings:
---------------
Print with infill of at least 20% - The more infill density you have, the stronger the brackets will be. - They will print with minimal lightening infill, but don't be tempted, as the brackets won't be strong enough and will break.
Layer height is up to you. I printed mine at 0.25mm layer height with a 0.5mm nozzle.
Use a brim. - This is important as the brackets/sliders print vertically. You might want to add extra lines to the brim for more bed adhesion too.
Enable 'Bridge Mode' in your slicer. There are a couple of points that require bridging, so make sure your settings are dialled in before print.
----------------
Thanks for Looking.
Don't forget to review the model and post your makes :) - It helps designers a lot.