


Log In

Find similar
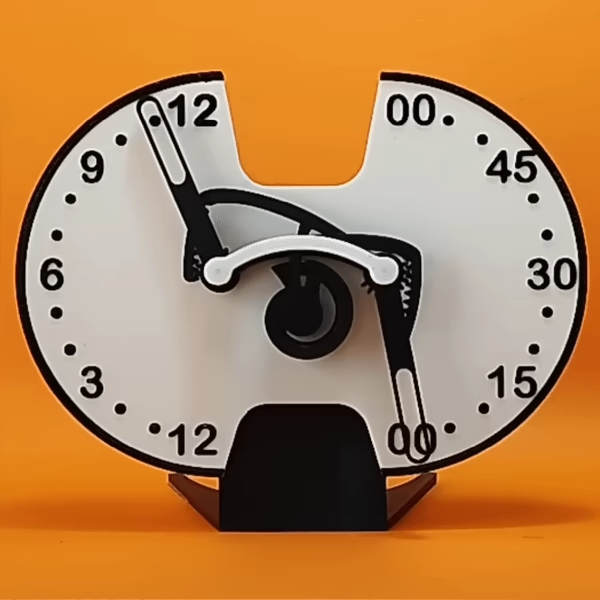


Retrograde Clock 2
Print Settings (3)
Add
Home Decorations & Ornaments
Home Decorations & Ornaments
Boost
Boost for a chance to win a prize
260
209
11
2023-09-15
486
17
Description